Tuesday, 6 October 2009
Monday, 5 October 2009
Mask Tutorial
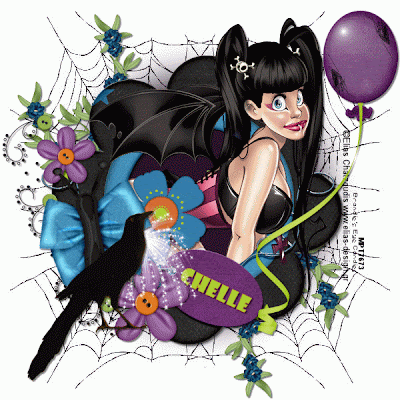
Ok so lately a few people have mailed and asek me about my mask tutorial.....I made it last year, but when I moved webhosts.....My mask tutorial didnt get added cos there werent that many hits on it lol. Anyway, Ive decided to stick it on my blog here, that way, if anyone wants it, it's here.
A few people have asked me to write a mask tutorial, so I thought I'd share with you how I make mine. It's very basic, you dont need alot of PSP knowledge to use this tutorial.
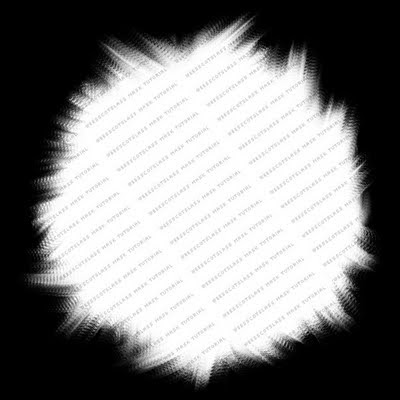
Lets begin!
1. Open a new canvas 600x600 and fill black.
2. Grab your preset shape tool set to circle, inner, white, outer, null. Draw out a large circle,
objects, align, center in canvas. Convert to raster.
3. Grab your smudge tool, settings as follows.


4. I used a flower brush, but you can use any kind of brush for this part.
5. Go to the edge of your circle anywhere on your canvas, start pushing the cirlce in towards
itself.
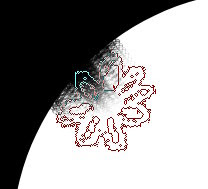
6. Continue to do this all the way around so you have a ragged edge. I also smudge the white
outward, but it depends on the size of your circle. You dont want any of the white to
touch the edge of your canvas, or else you'll notice a line around your tag when you use the
mask. Like below.
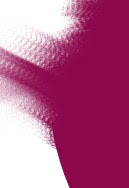
7. You should now have a canvas that looks smilar to this
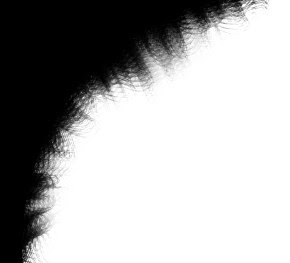
8. Once happy with your new mask...save it as a jpeg, remember to give it a name too so that
people know it belongs to you, you never know,
you may start making tons of masks and sharing them :P
There are tons of different things you can use to make masks, I use brushes, ding fonts, preset shapes, lots of different filters etc,
so play around with it once you start, there is so much you can do with the effects of PSP ;)
Thanks for trying my tutorial
This tutorial was written by me, weescotslass on 8th March 2008, any resemblance to any other tutorial is completely coincidental.
Registered with TWI.
Subscribe to:
Comments (Atom)


